
During the twelve days until Christmas break, the King Street Chronicle will again present staff favorites from the holiday season. This tenth edition will not include ten lords-a-leaping, but beloved Christmas songs, memories, recipes, movies, and crafts.
Song:
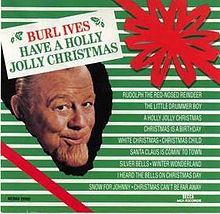
“A Holly Jolly Christmas” by Burl Ives.
Memory:
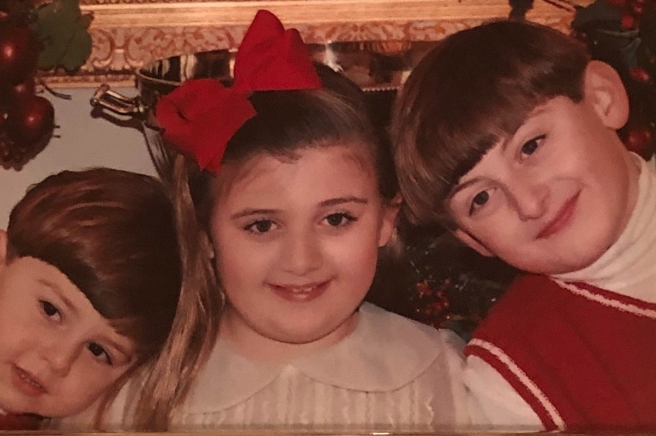
Sophomore Madison Mezzatesta
“A Christmas memory I have is staying up really late with my brothers after everyone is asleep and waiting for Santa to come. Being so young it didn’t last long but in the morning when we awoke the first thing we would do is go outside to see the tracks that the reindeer left in the snow. After that, we would wait for our parents to wake up to go downstairs and open all of our presents together!”
Recipe:
Red Velvet Peanut Butter Blossoms
Ingredients:
- One-half cup of butter, room temperature
- Three-quarter cups of creamy peanut butter
- One and one-third cup of granulated sugar
- One egg
- Two tablespoons of milk
- Two teaspoons of vanilla
- One teaspoon of red gel food coloring
- Three tablespoons of unsweetened cocoa
- One and one-half cups of all-purpose flour
- One teaspoon of baking soda
- A pinch salt
- One-quarter cup of red sanding sugar
- One bag of Hershey’s Kisses (unwrapped)

Courtesy of iambaker.net
-
Heat oven to 375 degrees Fahrenheit.
-
Beat butter, peanut butter, and sugar in a stand mixer for about two minutes on medium speed. Turn mixer to low and add in the egg, milk, vanilla, and red food coloring. Mix for about 30 seconds to incorporate, then turn mixer to medium-high and blend until light and fluffy.
-
In a separate bowl sift the cocoa, flour, baking soda, and salt. With a mixer on slow add flour mixture to sugar mixture and beat until just combined.
-
Remove mixer bowl from stand. Shape dough into one-inch balls. Set on a parchment lined baking sheet.
-
Pour red sanding sugar onto small plate or bowl.
-
Roll dough ball in red sanding sugar and place on prepared cookie sheet about two inches apart.
-
Bake for eight to ten minutes.
-
While baking, unwrap Hershey’s Kisses. Once cookies are done baking, remove from the oven and immediately press a chocolate Kiss into the center of each cookie. The cookie should crack around edges.
-
Allow cookies to cool to room temperature.
Movie:

Northpole: Open for Christmas
“When Mackenzie Reed inherits her beloved aunt’s once-majestic hotel, she decides the sensible thing to do is sell it before Christmas. But fixing up the rundown place while managing the hotel staff (including the handyman and his kids) and dealing with demanding guests is more challenging than she had anticipated. That’s when the magic of Christmas intervenes. Mackenzie gets some unexpected help as Clementine and a group of Elves arrive on a special mission from Santa to repair the hotel and at the same time help her to rediscover some hidden talents along with the true meaning of Christmas,” courtesy of hallmarkmoviesandmysteries.com.
Craft:
Snowman Pet Toy
Supplies:
- Tracing paper
- Pencil
- Pins
- White, yellow, and orange felt
- Scissors
- White and black threads
- Fiberfill stuffing
- A small squeaker
- Optional: a sewing machine

Courtesy of womansday.com
- Draw a simple snowman shape onto paper to create a pattern.
-
Cut toy pattern twice from white felt. Cut two four by one-quarter-inch strips from yellow felt for the scarf. Cut a one-half-inch-long narrow triangle from orange felt for the nose.
-
Arrange and pin scarf strips on the front of the toy, crisscrossing them under chin area. Sew close to all edges of the scarf.
-
Pin the nose on the head, and stitch in the same manner.
-
To make eyes, mouth, and buttons, sew on to the felt with black thread.
-
Pin the front to the back, with wrong sides facing and raw edges even. Stitch close to edges, leaving a three-inch opening on one side.
-
Wrap the squeaker in fiberfill, then place in the toy. Stuff rest of toy firmly. Finish sewing edges.
-Curated by Daisy Steinthal ’19, Editor-in-Chief
Featured Image by Daisy Steinthal ’19