


During the 12 days until Christmas break, the King Street Chronicle again presents staff favorites from the holiday season. This third edition will not include three french hens, but beloved Christmas songs, memories, recipes, movies, and crafts.
Song: “Run Rudolph Run” performed by Mr. Chuck Berry

Recipe: Peppermint Oreo Truffles
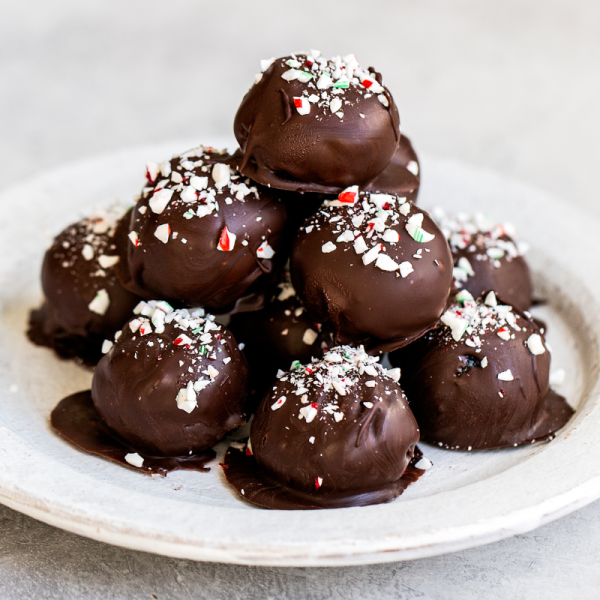
Total time: One hour and 45 minutes
Quantity: 36 truffles
Ingredients:
- 39 regular Oreo cookies, with filling intact
- Eight ounces cream cheese (room temperature)
- Three-fourths teaspoon peppermint extract
- 16 ounces semisweet chocolate (finely chopped)
- One tablespoon coconut oil or vegetable oil
- Two regular-size candy canes (finely crushed)
Steps:
- Place the Oreo cookies in the bowl of a food processor and pulse until finely ground. Add the cream cheese and peppermint extract and pulse until the mixture is well combined and smooth.
- Line a rimmed baking sheet with parchment paper. Using a spring-loaded one-tablespoon cookie scoop, scoop the mixture into balls.
- Place the cookie balls in the freezer until well chilled, at least one hour or up to one day.
- Once the balls are chilled, combine the chopped chocolate and oil in a medium microwave-safe bowl. Microwave in 30-second bursts, stirring between bursts, until just melted and smooth. Do not overheat.
- Drop each cookie ball into melted chocolate, coating evenly. Remove with a fork, gently tapping off excess chocolate. Place back on cookie sheet and immediately sprinkle with the crushed candy canes. Repeat with the remaining balls. Reheat the chocolate as needed so it remains pourable.
- Refrigerate until set before serving. Store the truffles in an airtight container in the fridge for up to 15 days.
Movie: Christmas with the Kranks

“With their daughter Blair away in Peru, Luther and Nora Krank decide to skip Christmas altogether until she decides to come home, causing an uproar when they must celebrate it at the last minute,” courtesy of imdb.com.
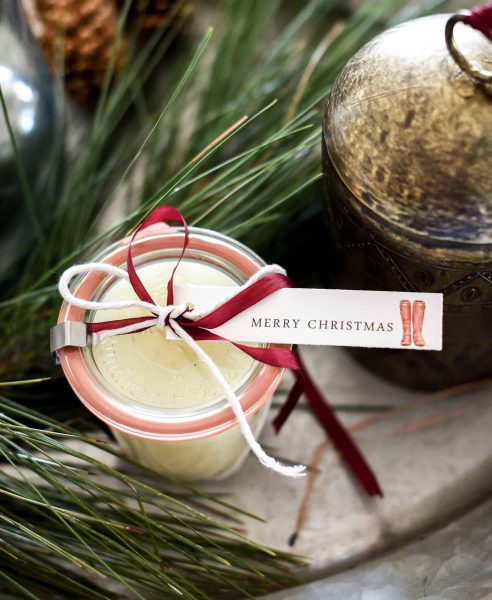
Craft: DIY Christmas Candles
Supplies:
- One pound four cups beeswax pellets
- Candle wicks
- Essential oils, such as sweet orange, clove, or spruce
- Glass jars
- Free printable gift tags
- Printer
- Scissors
Instructions:
- Pour four cups of beeswax into a mason jar or Pyrex measuring cup. Use something that you do not mind dedicating to your craft closet, as it will be difficult to get whatever you use here clean again. If you want a more efficient way to melt larger amounts of wax, you could also use a crockpot liner for an easy cleanup.
- Microwave the wax in two three-minute increments, stirring between, similarly to melting chocolate. It should take about nine minutes total. If you are doing this for the first time, using a double boiler is the easiest way to melt your wax if you do not have a microwave. A melting pot is another good option if you want to invest in a candle-making kit.
- Once the wax is completely melted, add essential oils of choice. Remember, the amount of wax used should complement the amount of oil. Too much oil can overwhelm the scent.
- Set out the candle molds you would like to use. You can get creative by using tea cups or nice jars you find at thrift stores for a more vintage vibe.
- Add the candle wicks to the glass jars. To do so, dip the metal part of the wick into the melted wax. Place the metal end of the wick into the center of the candle mold, holding it in place until the wax dries. You can use a wick sticker for additional support if needed.
- Add candle wick stabilizers. Tape two skewers together on each end, leaving the center open. Carefully slide the skewers over the wick so that the skewers rest at the top of the candle mold, holding the wick in place. Do not pull on the wick, it will come off of the glass. If this happens, just repeat step five.
- Once the wick and skewers are in place, pour the wax into each mold. Set aside to harden. Make sure you use the right amount of wax so that it fills the container to the desired level without overflowing. You can always adjust by adding more wax later if needed. If you are worried about air bubbles, let the wax mixture cool slightly before pouring it into the jars.
- Once hardened, remove the skewers and trim the wick. Leave about half an inch of excess wick at the top to ensure a clean burn. Cooling the wax is essential, so allow it to set fully before trimming the wick. This ensures that the wax hardens evenly and reduces any mess.
- Finally, add a ribbon or a cute label, and give it to friends and family.
Memory: Mrs. Christina Saraceno
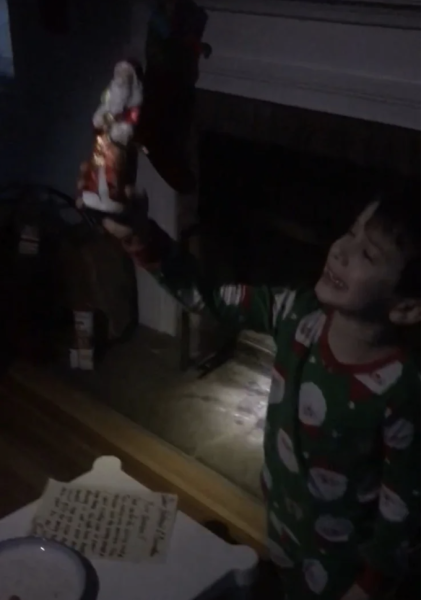
“My favorite Christmas memory is from December 2020. My family had been in our new house for just a few months. On Christmas Eve, there was a huge storm, and a fallen tree blocked our driveway and knocked out our power. It was during the pandemic, so we were not spending the day with extended family anyway. My kids opened their presents surrounded by candles and flashlights, and we all huddled near the fireplace all day. My husband cooked our Christmas dinner on the barbecue.”
Featured Image by Lilia Newman ’27
